Ever wonder why some tint jobs look flawless while others wrinkle up like plastic wrap? Most of the time, it comes down to window film shrinking and whether it was done right or rushed. Window film shrinking can make or break a car tinting project; it’s the line between a clean job and a wrinkled nightmare. If you have ever stood there, heat gun in hand, unsure whether to go for wet shrinking or try your luck with dry shrinking, you are not alone. Picking the right method is not just about technique. It is about getting that perfect finish, keeping the film smooth, and saving yourself a ton of frustration. Here is where the real showdown between wet shrinking and dry shrinking starts.
Understanding Window Film Shrinking
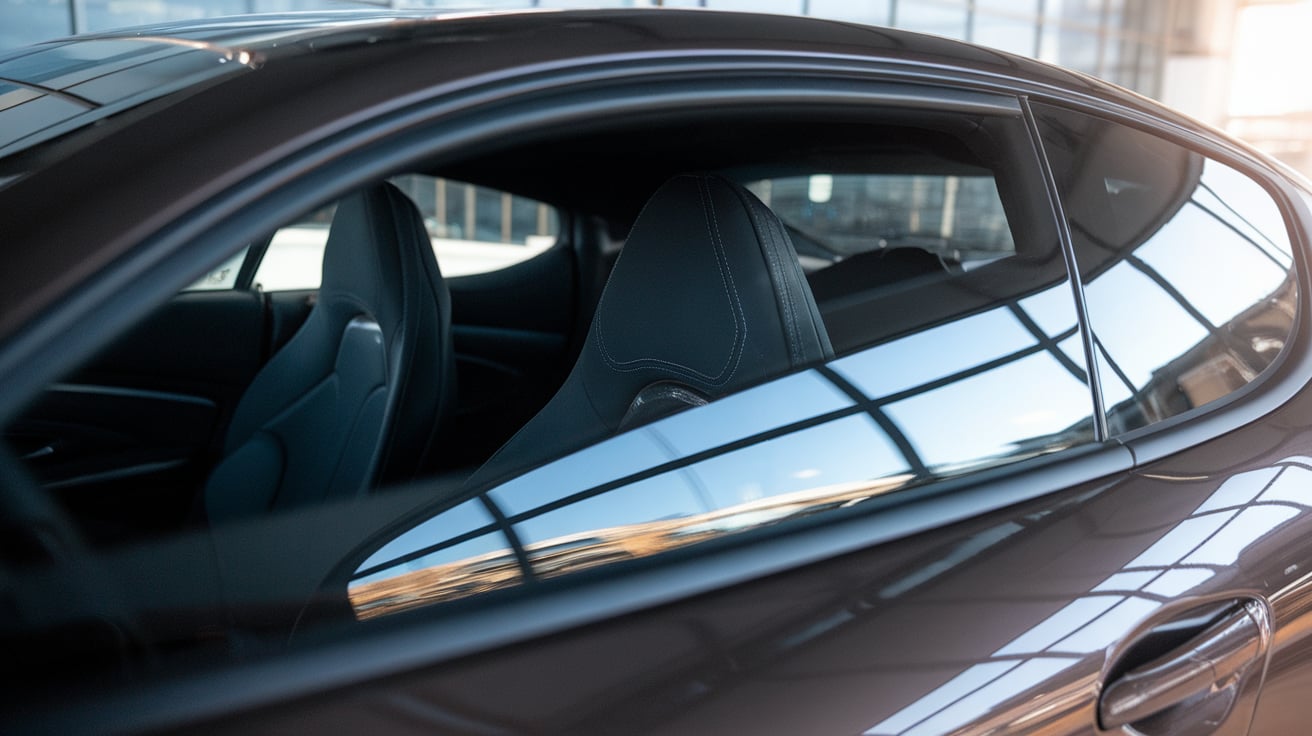
Ever noticed how some cars have tint that looks like it was born with the glass, while others have weird bubbles and creases? The secret sauce behind smooth, curve-hugging tint? That’s window film shrinking, and it’s where pros either win or mess it up. If you are diving into car tinting or even just curious, this part will save you a lot of pain (and maybe a few rolls of wasted film).
- Window film shrinking is the step where you shape tint film to fit the curves of your car windows. Most car glass is not perfectly flat. Rear windows, especially on sedans or SUVs, curve like a racetrack.
- If you slap on tint film without shrinking, you end up with wrinkles, trapped air, or corners that never stick. That is where things get ugly fast.
- Professionals use heat, think heat gun or sometimes steam, to gently warm up the tint film. The heat makes the film flexible, so it stretches and sits flush against the glass.
- Both wet shrinking and dry shrinking get used, depending on the job. Some films respond better to one technique than the other. Choosing the right window film shrinking method is what separates a clean install from a creased disaster.
- You need shrinking for all kinds of tints: ceramic film, carbon, dyed, metallic, you name it. Even the priciest tint needs a little heat magic to look right.
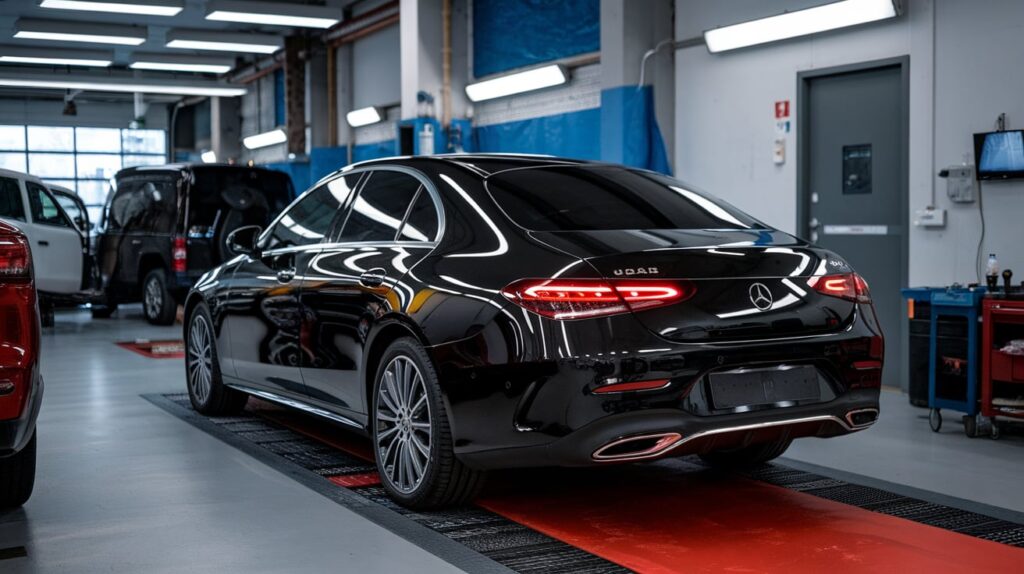
Here’s the thing: if you skip or rush this part, you’ll see the problems right away. A good car tinting job feels seamless, looks sharp, and lasts longer, window film shrinking is what gets you there. It’s one of the details we never skip at our car tinting service in Dubai, because clean results come from proper prep, not shortcuts.
Tip: Never blast your film with max heat all at once. Start slow and steady. You want it to relax, not melt.
Every tint shop in Dubai that knows their stuff will tell you: shrink right, or do it twice.
Wet Shrinking Window Film | Why It Matters
Trying to lay tint film on a curved window without the right approach can turn a simple job into a nightmare. That is where Wet Shrinking Window Film comes in. Most experienced installers in Dubai lean on this method for a reason; it just makes sense when you are after that smooth, flawless look on tricky windows.
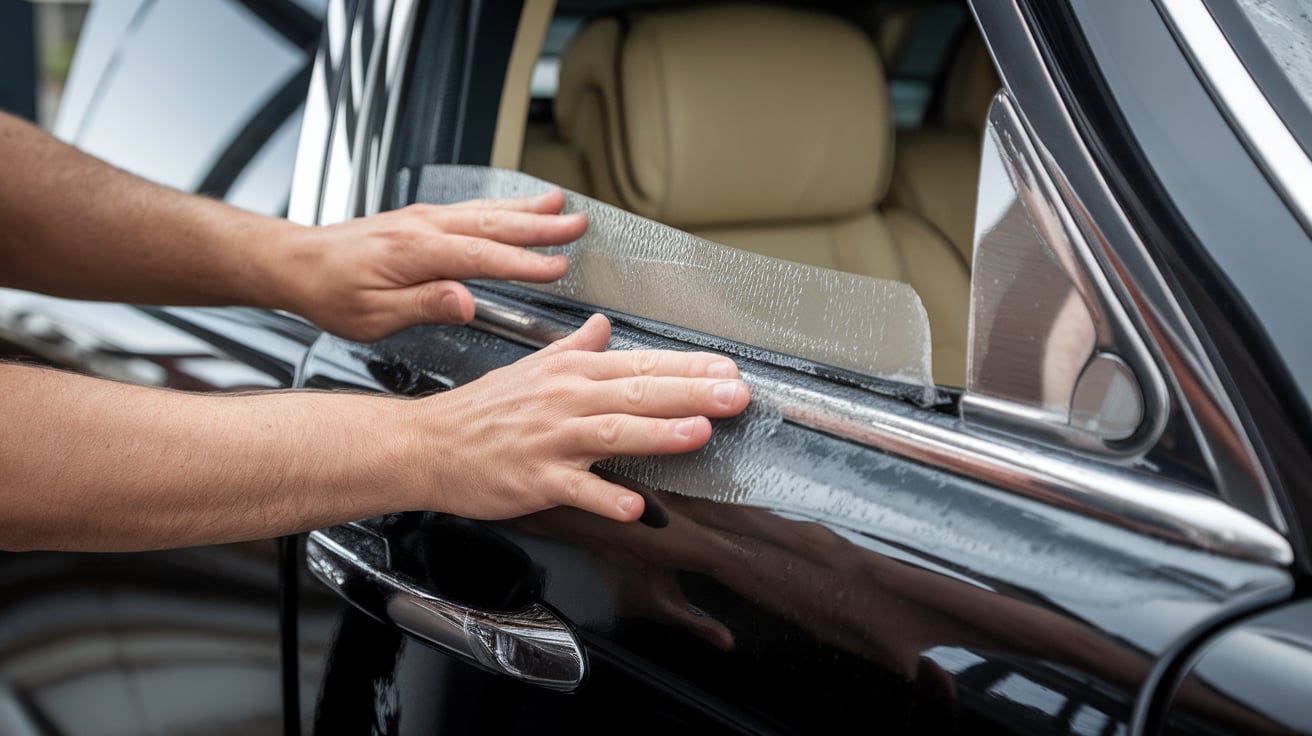
- Slip Solution Magic
Start with a layer of slip solution or soapy water sprayed over the outside glass. This creates a surface where the film can glide easily. - Perfect Film Placement
With the glass still wet, you can slide the window film exactly where it needs to go, even on complicated shapes. - Gentle Heat Application
A heat gun is used to help the film shrink and stretch, so it molds perfectly over every curve and dip in the window. - Built-In Safety Net
The moisture gives you a chance to lift and readjust the film without tearing or ruining it. That extra flexibility is a lifesaver. - Protects High-Performance Film
Wet shrinking is especially useful for sensitive films like ceramic tint and carbon window film. Less risk of burning or creasing means a better result. - Best Choice for Large Curved Glass
This method is the go-to for back windows, SUVs, and any spot where glass curves make things complicated.
Getting comfortable with Wet Shrinking Window Film is one of those things that makes you better at car tinting,no more frustration, no wasted material, just a smooth install every time. If you want a real shot at pro-level results, this is a method you cannot ignore.
What Is Dry Shrinking Window Film?
Looking for a way to handle tint film on windows that do not have extreme curves? Dry Shrinking Window Film might be the answer. In the world of car tinting, this technique is known for its straightforward process and reliable results, especially in the Dubai heat.
- Direct Film Placement
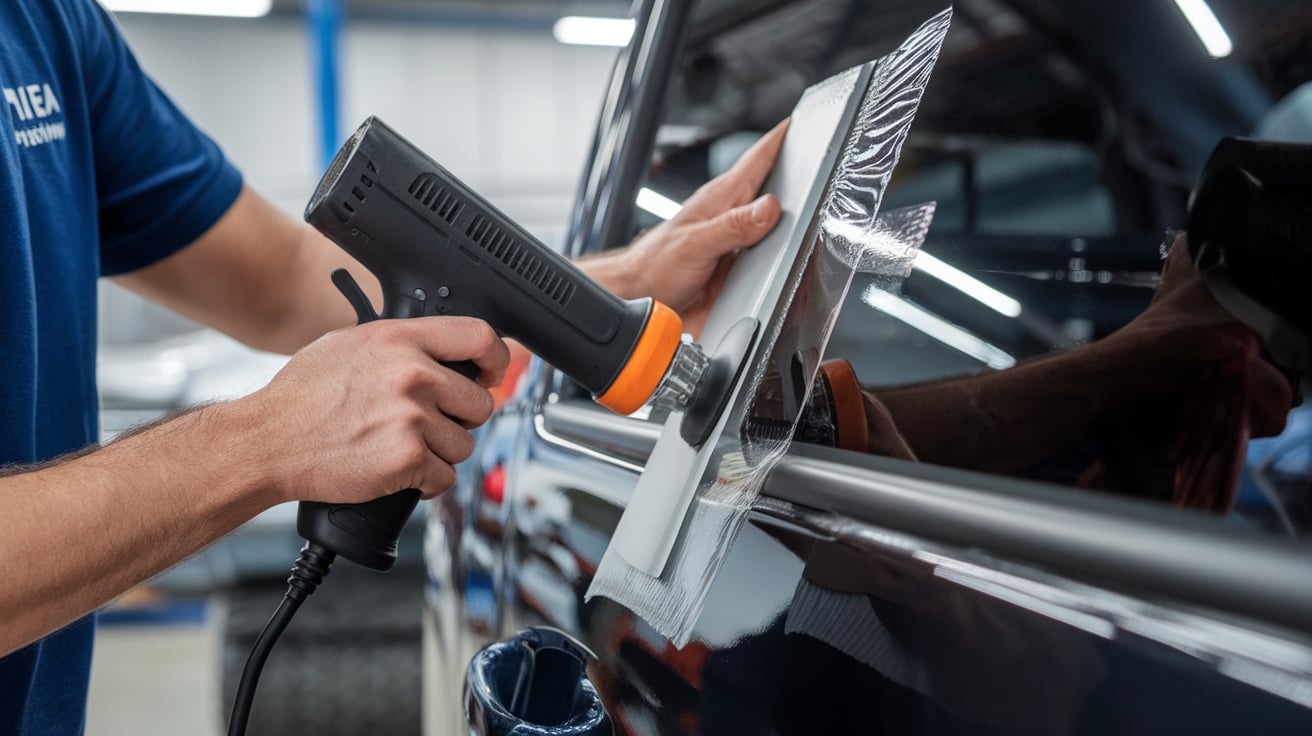
With Dry Shrinking Window Film, you lay the tint film on the outside of the glass, without using water or a slip solution. - Heat Gun for Precision
A heat gun is used to warm the window film gradually. Careful heat lets the film conform and shrink, hugging the glass with precision. - Hard Card Smoothing
A hard card or squeegee helps guide the shrinking process, smoothing out the film and removing any minor imperfections. - Release Liner Barrier
The release liner remains on the film while shrinking. This layer prevents sticking and lets you reposition if you need to adjust the fit. - Best for Simple Window Shapes
This technique is most effective on flat or gently curved windows,side glass or older vehicle rear windows are common examples. - No Moisture Risks
Skipping the slip solution means you avoid water spots, streaks, or trapped moisture under the film. That is a big plus when working in hot climates like Dubai. - Quick Turnaround
With no waiting for liquid to dry, the install can move fast from shaping to final fit, making Dry Shrinking Window Film a time-saver for many tint shops.
When you need a fast, clean result on uncomplicated glass, Dry Shrinking Window Film is a practical solution. It is a favorite among installers who want efficiency, accuracy, and less chance of water-related problems during car tinting.
Process of Wet Shrinking & Dry Shrinking Window Film
Ever wondered what goes on behind the scenes when you see a flawless tint job in Dubai? It is not magic; it is about knowing the difference between wet shrinking and dry shrinking window film. Both methods have their own workflow, and using the right one for your glass shape can save a lot of hassle (and wasted film).
Wet Shrinking Window Film
For windows with deep curves, this process is the go-to. Here is how it unfolds:
- Start with a Slip Solution
A layer of soapy water or slip solution is sprayed on the outside glass. - Position the Tint Film
Film is placed over the wet surface, liner side up, so it can move easily. - Remove Air & Wrinkles
Press out any air pockets so the film sits flat and smooth. - Apply Gentle Heat
Use a heat gun to carefully warm the film, letting it soften and shrink. - Adjust as Needed
Slide or lift the film to fix any trouble spots. The moisture helps with easy repositioning. - Mold the Film with Heat
Keep heating and smoothing in small sections until the film matches the glass. - Final Placement
When the shape is perfect, peel the film off, flip it, and install it inside the window.
Dry Shrinking Window Film
For glass with mild curves or flatter shapes, dry shrinking is often faster and more straightforward:
- Clean & Prep the Glass
The outside of the window is cleaned thoroughly,no slip solution needed. - Lay Down the Film
Film goes straight onto the dry glass, with the liner still attached. - Heat & Shape in Sections
A heat gun is used to gently shrink the film, section by section. - Work with a Hard Card
A hard card smooths the film into place as the heat works its magic. - Refine the Fit
Continue reheating and smoothing until the film hugs the window shape. - Remove for Final Install
When fully shaped, take the film off and install it inside the car.
Getting these steps right is what separates a rookie job from a professional result. Choose the right process for your window, take your time, and you will see the payoff every time you drive in the Dubai sun.
Wet Shrinking vs Dry Shrinking Window Film | Head-to-Head Comparison
When it comes to tinting cars in Dubai, picking between wet shrinking window film and dry shrinking window film can feel like one of those choices that only matters after you see the results. Trust me, there is a real difference, especially if you want to avoid headaches and get that crisp, professional finish.
Wet Shrinking Window Film
- Handles the Toughest Curves
Got a rear window that curves like a rollercoaster? This is where wet shrinking makes life easier. You have more time to move the film around and get it just right. - Mistakes Are Easier to Fix
Because of the slip solution, you can lift and reposition without worrying about the film tearing or creasing. It takes the stress out of working on expensive films. - Safer for Sensitive Skin
Ceramic and carbon films do not like to be rushed or overheated. Wet shrinking gives you a safety net, so you are less likely to end up with a scorched or wrinkled mess. - Takes Patience
The tradeoff? It is a bit slower. There is prep, cleanup, and the extra care needed to work the solution through.
Dry Shrinking Window Film
- Perfect for Simple Windows
If you are working with a side window or back glass that is almost flat, dry shrinking keeps things quick and easy. Less drama, less mess. - No Waiting Around
Since you are not spraying any liquid, you go straight from shaping to installing. No need to stand around waiting for things to dry. - Faster Installs
For busy shops or DIYers, the speed here is a game changer. You get in, get out, and move on to the next car. - Less Forgiving
One catch: you do not have the luxury of picking up and moving the film if you make a mistake. You have to get it right the first time, or you are starting over.
In the end, both techniques have their sweet spots. If you are staring at a tricky window and want a little wiggle room, Wet Shrinking Window Film gives you the breathing space you need. If speed and simplicity are your priorities, Dry Shrinking Window Film is the way to go. In Dubai’s fast-paced tinting scene, knowing which method to use is what separates the pros from the rookies.

Common Mistakes in Window Film Shrinking
Ever spent hours on a car tinting job, only to see bubbles or creases pop up later? That usually means something went sideways during the shrinking process. Both wet shrinking window film and dry shrinking window film come with their own set of pitfalls. Here are the big mistakes most people make, plus a few ways to dodge them next time.
- Overheating the Window Film
Blasting too much heat onto the film can cause it to warp, discolor, or lose clarity. This is especially a risk with Dry Shrinking Window Film when you get impatient or work in one spot too long. - Not Enough Slip Solution
If you skip the slip solution with Wet Shrinking Window Film, the tint gets stuck before you have a chance to adjust it. You need enough liquid so the film can slide, lift, and reset smoothly. - Skipping Glass Cleaning
Applying film on dirty glass traps dust and debris underneath, making it almost impossible to shrink the film evenly. Clean glass is essential for any successful car tinting job. - Uneven Pressure with Hard Card
Pressing down too hard with your squeegee or card can scratch or wrinkle the film, while being too gentle leaves bubbles and loose spots. - Wrong Method for the Window Shape
Using Dry Shrinking Window Film on deeply curved glass is asking for trouble. The film will not conform, and you will end up fighting endless creases. - Not Letting the Film Cool Down
Peeling and installing film while it is still hot makes it lose shape, so always give your window film a moment to set.
Mess up one of these steps, and you risk adhesive failure, creases, or long-term bubbling. Mastering your window film shrinking method means knowing where most installers go wrong. If you’re not sure, our breakdown of real-world tint installation mistakes can help you spot them before they happen.
Tips for Perfect Window Film Shrinking
Ever watch a pro install window film and wonder how they make it look so easy? Truth is, a few smart tricks and some practice can turn you from a frustrated beginner to a tinting hero. No more creased corners or bubbles ruining your day. Here’s what works, straight from the world of car tinting in Dubai:
- Clean Every Bit of the Glass
Start with a spotless window. Even the smallest speck of dust can mess up your window film, shrinking and showing up later. - Test the Heat; Do Not Rush
Always check your heat gun on a test piece before getting close to your real film. Too much heat with dry shrinking window film can turn a good job bad in seconds. - More Slip Solution Helps
If you are using Wet Shrinking Window Film, do not skimp on the slip solution. More is almost always better; it gives you a chance to lift, move, and fix before things set. - Work Slowly, One Spot at a Time
Heat a small section, shrink it, and then move on. This stops you from overheating and helps the film wrap around the glass smoothly. - Wipe Down Your Tools
Ever get little lines or scratches in your tint? Dirty hard cards or squeegees are usually to blame. Wipe them clean between passes. - Let It Set Before Installing
After shrinking, take a minute. Let the film cool so it holds its new shape when you transfer it inside. - Pick the Right Technique
If the window is all weird curves, stick with Wet Shrinking Window Film. For flat or gently curved glass, Dry Shrinking Window Film keeps things simple.
Perfecting window film shrinking is not about being the fastest; it is about being careful, paying attention, and learning as you go. Every clean, bubble-free window is a win, and each job makes you better than the last.
How to Pick the Best Window Film Shrinking Method for Your Car
Choosing between wet shrinking window film and dry shrinking window film can make a big difference in your car tinting results. If you want to avoid frustration and wasted film, matching the right method to your window’s shape and your own skill level is key.
- Check the Glass Shape
For curved or complex rear windows, wet shrinking window film makes the job easier and reduces the risk of creases. - Know Your Film Type
High-performance films like ceramic or carbon window film usually handle better with wet shrinking. Standard dyed film is often fine with dry shrinking, especially on flat glass. - Think About the Weather
Dubai’s hot, dry climate speeds up the drying process. This makes Dry Shrinking Window Film also riskier if you are not careful with the heat. - Consider Your Experience
If you are new to car tinting, wet shrinking is more forgiving. It lets you fix mistakes before the film sets in place. Dry shrinking requires a steady hand and a bit of confidence. - Look at the project timeline.
Dry shrinking is quick, with no slip solution to clean up, so it is good for speedy jobs. Wet shrinking needs more time but usually leads to better results on tricky glass.
The right approach is about understanding your tools, your glass, and your comfort zone. Make a smart choice up front, and your window film will look cleaner, last longer, and save you time in the long run.
Getting your car tinting right isn’t just about choosing a film , it’s about using the right technique for your glass. Wet shrinking window film and dry shrinking both have their place, but the best fit depends on your car, your skill, and the finish you’re after. Take a close look at the shape of the glass, go slow, and don’t rush the shrinking step if you want a clean result that holds up in Dubai’s heat.
If you’re not sure which method suits your car or just want a hassle-free install, talk to the team at Car Tinting Heroes. Book a session or ask for advice , we’ll get it done right. One simple choice can make all the difference.