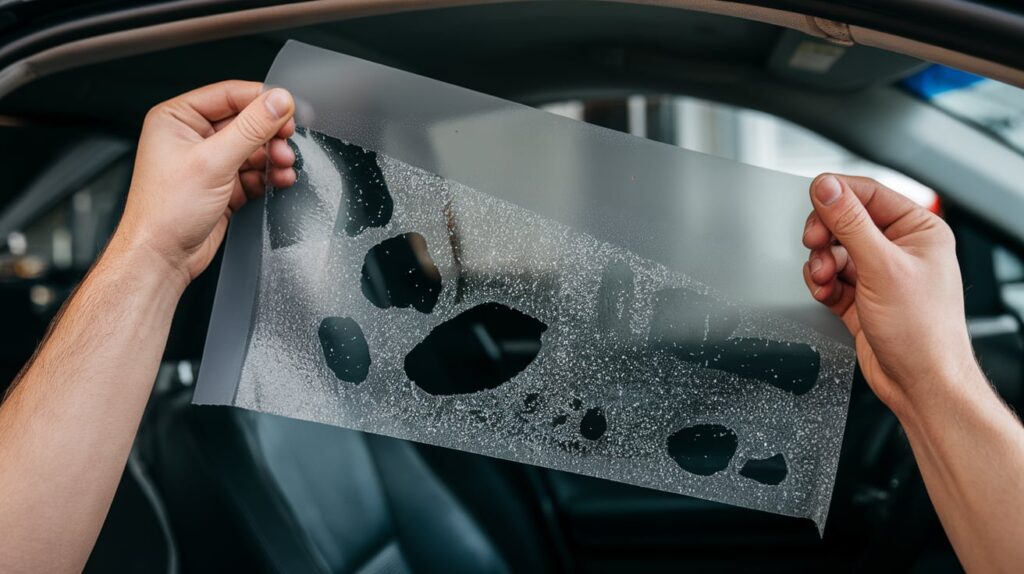
Bubbling, peeling, edge lifting, and discoloration are more than cosmetic annoyances. They’re proof of rushed prep, poor adhesion, and overlooked climate factors. In fact, tint installation mistakes like skipping proper surface cleaning, ignoring cure time, or cutting film without regard for geometry are behind nearly every tint redo in the city.
Dubai’s extreme heat (think 160°F+ on glass) and dusty conditions make tinting far more technical than it looks. Film does not just stick; it bonds, cures, and reacts. Mess with any step, and you get bubbles that will not go, edges that curl, and customers that do not return.
This guide breaks down the real science, the mistakes that ruin installs, and the smart fixes that make tint work last. Whether you install it or pay for it, know the difference.
The Science Behind Tinting | Why Adhesion Matters
Tint films do not just stick, they bond. And in Dubai’s heat, dust, and humidity, that bond is under constant attack. Every successful tint job starts with understanding the chemistry between film, glass, and the environment. Miss it, and you are already deep into tint installation mistakes.
Adhesion Chemistry| More Than Just Stickiness
Tint adhesives are pressure-sensitive polymers. They rely on:
- Surface energy of the glass | Dirty or oily glass lowers energy, making bonding weak.
- Cure reaction | As the temperature rises, adhesives release gas. Too much heat too fast? Trapped bubbles.
- Moisture control | Leftover water creates haze, lifts, and streaks under the film later.
Tip: Even top-grade ceramic film will fail if the installer rushes curing under Dubai’s blazing sun. Adhesive needs time, not heat shock.
Film Behavior | Ceramic vs Carbon vs Dyed
Different tints, different temperaments.
- Ceramic films block infrared heat but are thicker and stiffer. They need serious squeegee technique.
- Carbon films look rich but can warp or discolor if adhesives are cheap or curing is skipped.
- Dyed films fade quickest in Dubai’s UV-heavy climate. Many installers use them incorrectly same process as ceramic, totally different outcome.
Real-World Insight: A workshop in Al Quoz once swapped carbon film with ceramic during peak summer hours, same car, same tools, totally different approach. One side peeled in days. The other lasted months.
Environmental Attack | Dubai’s Triple Threat
The region throws serious curveballs:
- Glass temperature hits 160°F midday | Rushed installs trigger bubbling fast.
- Humidity locks moisture between layers | Result? Haze and peeling days later.
- Microscopic dust floats even in closed bays | If not wiped perfectly, it lifts the film at the edges.
Installers who treat Dubai like any temperate market invite failure. Ignoring these stressors is one of the most common tint installation mistakes—and why half the redos happen in the first month.
Block Quote: “Heat will cure it eventually” is wishful thinking. In Dubai, heat magnifies mistakes. It does not erase them.
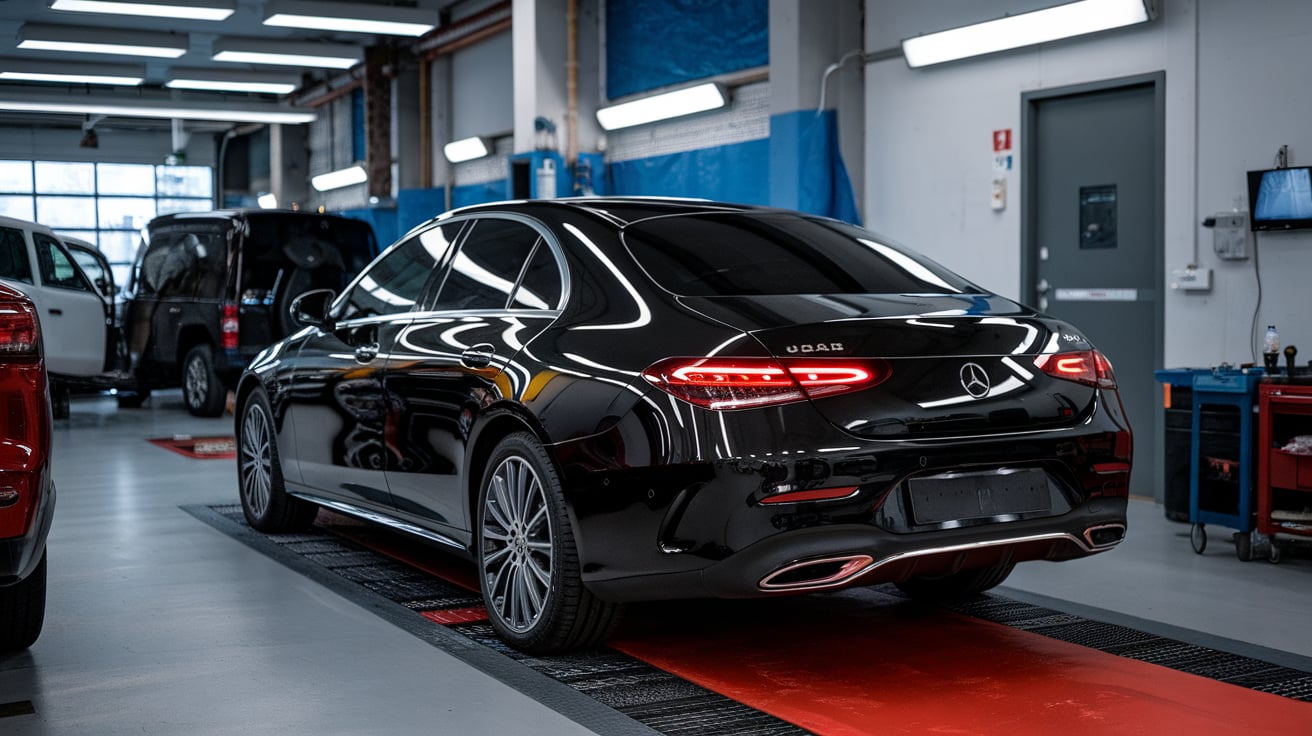
Bubbling, Peeling, and Edge Lifting | What They Mean?
Every failed tint tells a story. Sometimes it’s rushed prep. Sometimes it’s wrong pressure. And sometimes it’s that tiny bead of dust no one saw but the glass did.
Let’s break it down. Not as symptoms, but as signals of deeper tint installation mistakes. Because in Dubai’s heat, every defect gets amplified.
Bubbling | The Molecules are Fighting
You’ve seen it in round patches that puff up like trapped steam beneath the film. But they are not always moist. Sometimes it is:
- Contaminants stuck between film and glass, dust, lint, and even leftover soap residue.
- Poor squeegee technique, where air and water were not fully pushed out.
- Premature exposure to heat causes the adhesive to gas out before curing.
Case Study: A Range Rover tinted in Business Bay showed fine bubbles 48 hours post-install. Workshop blamed “film quality.” Reality? The installer rushed squeegee passes and skipped the final surface inspection. By day five, half the rear window looked like a blistered vinyl wrap.
And no, most bubbles do not “go away with time.” That old workshop myth needs to die. Bubbles caused by poor prep or premature heat exposure don’t just stay, they spread, lift the film, and ruin the finish. If you’ve seen bubbles form after a fresh install, you’re not alone. We covered the common causes and real fixes in our Car Tint Bubbling blog, worth a read before trusting anyone with a heat gun near your windows.
Peeling | The Tired Edge Syndrome
This one’s sneaky. Starts at the corners, tiny lifts like someone barely tugged. Then over days or hours, it starts crawling inward.
Peeling means the film’s edge did not seat and seal properly.
- Often caused by cutting errors that slice too close to the seal or trim.
- Sometimes it’s a lack of edge sealing pressure film laid with no press.
- And yes, low-grade adhesives that lose tack in Dubai’s heat.
Real-World Story: One installer applied dyed film to a Hyundai sedan using dry cuts along curved window edges. Within three days, the heat lifted both rear corner edges. No primer, no edge burn-in, no second pass.
Peeling is not the film’s fault. It’s the installer’s.
| Edge Lifting | The Curl of Neglect
You spot it when light hits just right a fine curl on the edge, like the film is trying to escape.
- Caused by poor alignment, especially when the film is cut short or drags over seals.
- Amplified by climate stress, where expansion and contraction tug the edge loose.
- Sometimes triggered by excess squeegee fluid, left to wick into trim during dry-down.
Tip: Lift starts microscopic. It becomes visible when the glass warms and the adhesive contracts. If caught early, a reheat pass can fix it. Ignore it? You’ll be peeling it off next week.
Bottom Line? Every defect has a fingerprint. And it usually leads back to the same list of tint installation mistakes: dirty prep, bad cuts, wrong technique, poor climate control.
Let’s be honest—Dubai does not forgive shortcuts. The heat bakes in every mistake. Bubbles deepen. Edges curl. Peeling escalates. So if it looks smooth on day one, that’s just the beginning.
Installation Mistakes That Ruin Tint Jobs
Tinting might look simple. Film, glass, squeegee job done, right? Not in Dubai. The reality is that most failures are rooted in avoidable, often overlooked tint installation mistakes. These errors do not show up immediately, but they will. And when they do? Bubbles, curls, and customer complaints follow fast.
Improper Cleaning Techniques
Think the glass is clean? Look again.
- Soap residue, tiny lint fibers, or surface oils from fingerprints sabotage adhesion before you even lay the film.
- Even one stray speck can trap air, reduce surface energy, and trigger bubbling later.
Personal Note: I once saw an installer clean a windshield using diluted shampoo. The film looked fine on day one by day three, bubbles formed across the top edge. Shampoo left a slick residue. That is a textbook tint installation mistake.
Cleaning errors may seem minor, but they build the foundation for every other failure. Film bonds chemically, and dirt kills chemistry.
Rushed or Incomplete Application
There’s a rhythm to tinting. A pace. And when installers rush, whether due to time pressure or overconfidence, mistakes snowball.
- Squeegee pressure too light? You leave air pockets.
- Too much force? You stretch the film or pull the adhesives inconsistently.
- Missed corners or uneven smoothing often result in visual distortion and premature lift.
“It looked perfect when I left the shop”—until the sun hits it. Then the edges lift, or bubbles form. These are classic tint installation mistakes, hiding under the illusion of speed.
Poor Film Alignment & Cutting
Film geometry matters. Curves, seals, trims, none of them are flat.
- Cutting too shallow leaves exposed edges prone to peeling.
- Cutting too deep? You score glass or damage trim.
- Misalignment throws off the optical look, especially on wide panoramic windshields.
Example: A Tesla Model Y tinted using rapid templates looked fine indoors. Outdoors? Misalignment caused a visible gap on the top quarter panel. The film had been cut flush to the seal, ignoring its expansion arc. That single misjudgment led to a lift and edge warp avoidable if installers respected tint geometry.
Bad alignment isn’t an aesthetic issue; it’s one of function. And it is one of the most frequent tint installation mistakes across Dubai.
Failure to Account for Cure Time
Film needs time to seat, settle, and bond. This is not optional, especially in Dubai, where heat spikes rapidly post-install.
- Rushing drive-out before full cure leads to moisture being trapped.
- High humidity interferes with adhesive chemistry, causing streaks.
- Without the correct cure time, films expand unevenly.
Installers often underestimate how Dubai’s glass surfaces hit 160°F by noon. That heat speeds up gas release from adhesives, but it does not strengthen bonding. Lack of cure patience leads to another layer of tint installation mistakes.
Block Quote: Curing is not about drying, it’s about setting. Heat cannot replace time. In Dubai, rushing installation is just asking for bubbles.
Climate-Specific Overlooked Factors
Dubai’s climate is not just hot, it’s volatile.
- Airborne dust settles fast and embeds during installation if bays are not sealed or filtered.
- UV saturation affects film behavior long before peeling becomes visible.
- Film cut lines shift as glass expands with heat. If installers do not adjust for that, edge lifting begins quietly.
Global brands often send tint products optimized for temperate zones. But applying those same films using default methods in Dubai causes localized failures. Not adapting the technique to the climate is one of the most overlooked tint installation mistakes in the region. If you want a clean, mistake-free tint job that’s done for Dubai, not Detroit, book your tinting service with our local experts and skip the rookie errors.
Tip: Every job needs region-specific tweaks. Dubai’s heat forces material expansion. Film must be cut and cured with that in mind.
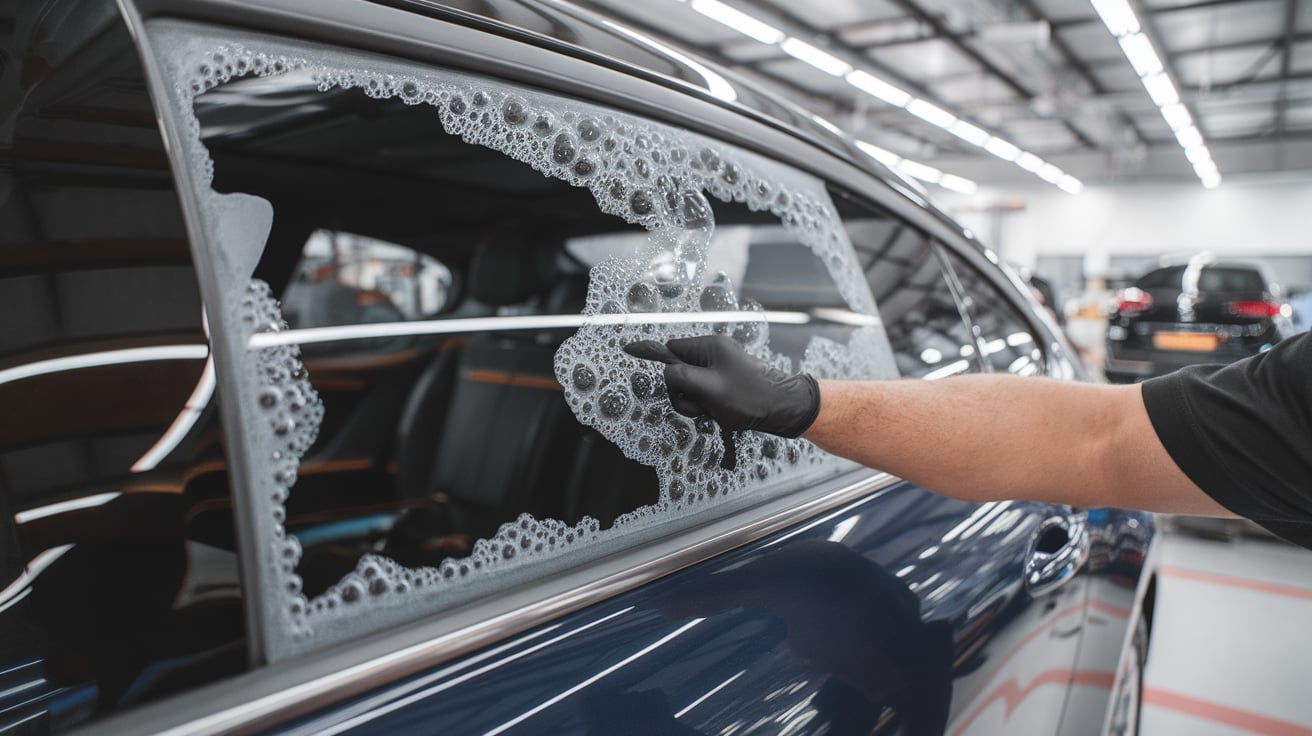
Tools, Techniques, and Adhesive Chemistry
Every flawless tint job starts with mastery of the basics—but “basic” doesn’t mean easy. Miss just one step, and the results scream tint installation mistakes loud and clear. This section breaks down the essentials like a seasoned installer would explain to their apprentice.
| Surface Prep Mastery
Forget shortcuts—this is where the tint either wins or loses before film even touches glass.
- Towels: Use lint-free microfiber only. Skip the cotton rags—they shed fibers that kill adhesion.
- Blades: Stainless steel only. Rusted or dull blades scratch glass and leave micro residues.
- Sprayers: Go for a pressurized, fine-mist model. Uneven spray leads to patchy bonding.
Tint Installation Mistake: Wiping with a reused rag soaked in soap. Residue stays, film lifts. Mastery: Clean pass with IPA (isopropyl alcohol), buff dry with microfiber, and inspect under flood light.
Tiny particles are invisible enemies—until the heat hits and they bubble to the surface.
| Cutting Techniques: Precision vs Speed
Speed impresses clients. Precision impresses results.
- Rushing cuts around curves and trims results in uneven borders and visible gaps.
- Use body lines and seals as natural guides—not arbitrary tape marks.
- Always test templates before bulk cutting. One curve off? You’ve got a dozen wasted films.
Mistake: Cutting against rubber seals to “save time”—ends in fraying edges and moisture leaks. Mastery: Map geometry first. Cut with clean arcs, not choppy segments.
Cutting technique reflects craftsmanship. Fast doesn’t mean skilled. Precision means enduring.
Understanding Adhesive Behavior
Adhesives aren’t passive. They react, shift, gas out, and settle, especially under Dubai’s brutal heat or Pakistan’s dust-heavy air.
- Watch for “milkiness” in film during squeegee passes: it’s trapped moisture.
- Rainbowing or streaking? Adhesive not bonding uniformly, often from uneven pressure or dirty prep.
- Crisp bonding lines? You’ve nailed the install angle and surface energy.
Mistake: Ignoring visual feedback, rushing squeegee strokes without observing adhesive shift. Mastery: Squeegee slowly, watch the adhesive behavior. Use vertical to horizontal passes to balance compression.
Adhesive chemistry speaks. Installers just need to listen.
| 💡 Side-by-Side: Adhesive Outcomes
| Category | Poor Outcome | Optimal Outcome |
| Visuals | Foggy patches, streaks, and edge bubbling | Crystal-clear finish, zero distortions |
| Bond Strength | Peeling within days, especially in heat zones | Seamless bond even in harsh climates |
| Durability | Curling on corners and seals | Edge stability and long-term adhesion |
| Cause | Dirty prep, uneven squeegee, rushed cure | Controlled install, full cure respect |
Quick Tip: If the adhesive shows streaks right after squeegee—but still smooths watch it for 15 minutes. If they reappear, redo it. Adhesive remembers every mistake.
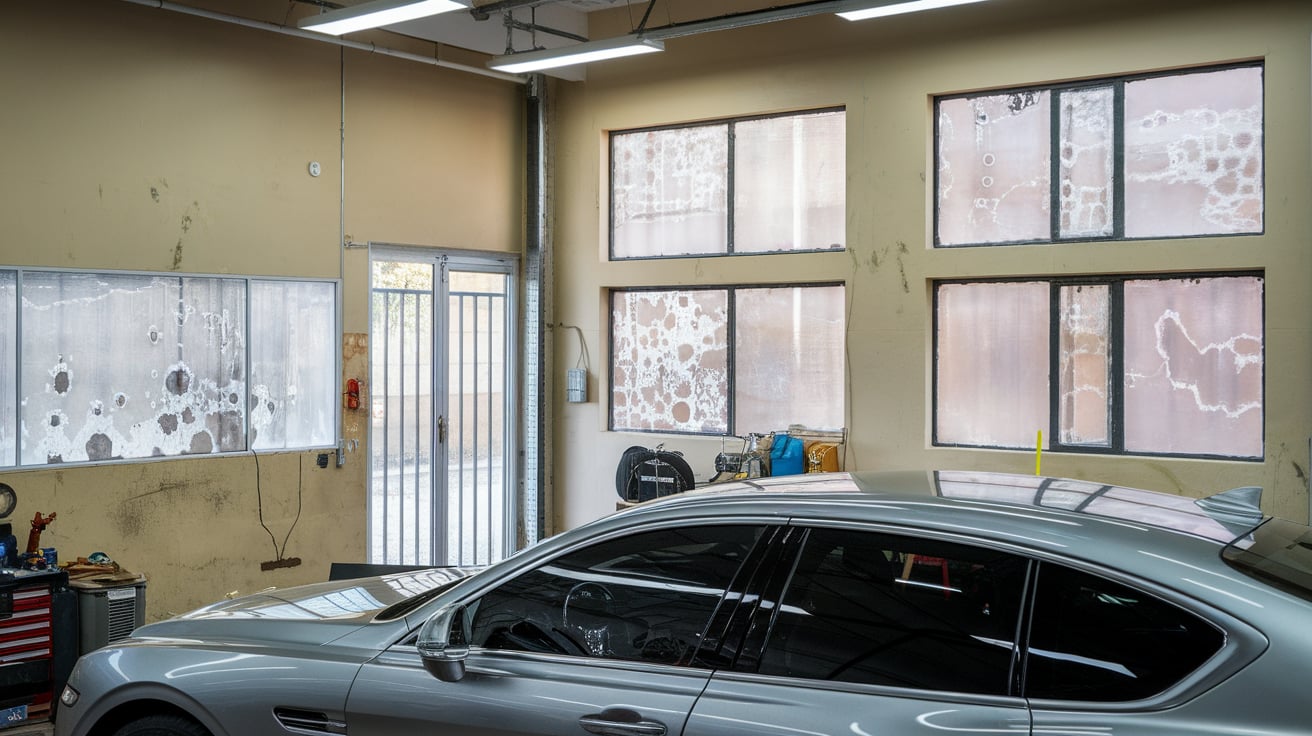
Tools, Techniques, and Adhesive Chemistry
Even the most expensive tint film can fail if foundational steps aren’t followed. Many tint installation mistakes begin with misunderstanding the tools, rushing techniques, or misreading adhesive behavior, especially in climates like Dubai and Pakistan, where environmental variables amplify every flaw.
Surface Prep Mastery
Preparation isn’t glamorous, but it’s the shield against silent tint installation mistakes.
- Towels: Use only fresh, lint-free microfiber. Reused or cotton towels shed fibers that disrupt film bonding.
- Blades: Stainless steel blades prevent rust streaks and surface scoring. Cheap blades often cause subtle abrasions, a hidden tint installation mistake waiting to blister.
- Sprayers: A fine-mist pressurized sprayer allows uniform slip solution distribution. Uneven spray leads to inconsistent adhesion across panels.
Real-World Error: Cleaning with detergent-based water sounds smart—but the leftover surfactants create invisible film lift. That common tint installation mistake ruins adhesion the moment heat activates the residues.
Cutting Techniques| Precision vs Speed
Every curve matters. Every edge is a decision.
- Fast cutting often creates jagged or misaligned borders. Inconsistent edges lead to edge curl and failed seals, top-tier tint installation mistakes.
- Precision allows the film to settle naturally into contours. Rushed slicing forces misfit geometry and corner buckling.
- Pre-cut templates should be mapped and tested on curved glass before committing. Guesswork with curves is never neutral; it’s another form of tint installation mistake.
Cutting against rubber trims instead of glass? That shortcut causes water channeling and adhesive breakdown—a textbook tint installation mistake.
Reading Adhesive Behavior During Install
Adhesive isn’t static responds to pressure, moisture, and temperature. Dubai’s heat, especially, exaggerates every misstep.
- Watch for milkiness, microbubbles, or edge fogging; these are all signs of poorly set adhesive from common tint installation mistakes.
- Horizontal and vertical squeegee strokes help balance pressure and control gas escape. Skipping this technique leads to uneven bonding.
- Adhesive rainbowing signals an imbalance in surface prep or climate compatibility. Don’t ignore adhesive signals; they speak the language of tint installation mistakes.
Pro Tip: A Film that looks perfect but shows streaks after five minutes is lying. Wait 15 minutes. Re-evaluate. Adhesive always reveals what went wrong.
Side-by-Side: Adhesive Outcomes
| Adhesive Condition | Poor Outcome | Optimal Outcome |
| Prep-Linked Issues | Streaks, fog, and trapped dust | Crystal clarity, bubble-free surface |
| Climate Misjudgment | Heat distortion and expansion misalignment | Uniform bonding and climate-tolerant curing |
| Application Pressure | Uneven grip, lift zones at corners | Consistent pressure yield, full seal around edges |
| Resulting Durability | Peeling after days of a common tint installation mistake | Long-term hold and high visual accuracy |
Every adhesive misread leads to degradation. Every cure delay invites lifting. These aren’t random; they’re avoidable tint installation mistakes repeated across climates.
Debunking Tint Myths
Let’s pop the myths like poorly cured bubbles. These common misconceptions don’t just mislead clients; they fuel avoidable tint installation mistakes that cost workshops their reputation and customers their patience.
🫧 Myth #1| “All Tint Bubbles Vanish”
Reality Check: Some do. Most don’t.
- What bubbles vanish? Minor moisture bubbles from the slip solution. These can clear during the cure phase if the install was done right.
- What stays? Air bubbles from dirt, poor squeegee technique, or surface contamination. These aren’t going anywhere. They’re locked in by adhesive failure.
Tint Installation Mistake: Skipping flood-light inspection and rushing squeegee pressure leads to trapped particulates that form permanent bubbles. Master Installer Insight: “If you bubble it, you buff it out or you rip it off. Hoping they disappear is lazy.”
Myth #2 | “Peeling Means the Film Was Bad”
Reality Check: Nine times out of ten, film peel isn’t about bad product—it’s about bad install.
- Common causes of peeling:
- Poor surface prep (soap residue, oil, lint)
- Incorrect edge trimming
- Inadequate curing, especially in humid or hot climates
- Even high-end films peel when basic technique is ignored.
Tint Installation Mistake: Blaming the product instead of addressing installer’s error. Peeling is often self-inflicted by rushed application or poor alignment. Client Education Tip: Ask about prep, edge cuts, and cure—don’t just fixate on film brand.
Myth #3| “You Don’t Need Curing in Dry Climates”
Reality Check: Dry ≠ safe. Heat amplifies every mistake.
- Dubai’s blazing temps can cause adhesives to gas out too fast, creating micro-lifting.
- Dry air doesn’t mean moisture isn’t present—humidity still lingers near glass after install.
- Films need time to settle, bond, and stabilize. Dry climates accelerate failure if curing isn’t managed.
Tint Installation Mistake: Releasing the vehicle within 30 minutes of install, thinking “it’s dry—no need to wait.” Result: Lift lines by day three, foggy adhesive zones, and customer complaints.
The Real Truth
Tinting isn’t a myth, it’s a method. Precision, patience, and preparation beat shortcuts and superstition every time. To avoid tint installation mistakes, educate your team, guide your clients, and treat every job like it’s your benchmark.
Best Practices for Long-Lasting Tint Success
A flawless tint install isn’t just a result; it’s a routine. Here’s a compact checklist to master durability and aesthetics while steering clear of tint installation mistakes.
Technique Checklist
- Prep glass with alcohol and inspect under a flood light.
- Use lint-free towels and stainless blades only.
- Align film using body curves, not rubber seals.
- Apply even squeegee pressure: vertical, then horizontal.
Cure Time Scheduling
- Minimum 24 hrs in moderate climates
- Up to 72 hrs in humid or high-heat zones like Dubai
- No car wash or window operation during cure
Regional Adjustments
- Dubai: High UV index → ceramic films preferred
- Pakistan: Dust-heavy air → seal work must be perfect
- Adjust for surface heat (glass hits 60°C+ midday)
Film Type Selection
| Film Type | Key Benefit | Avoids Mistakes Like… |
| Ceramic | Heat rejection, clarity | Edge lift from thermal expansion |
| Carbon | Budget heat control | Adhesive fogging in mild climates |
| Dyed | Visual shade only | Fading, poor bonding over time |
Skipping steps might save time but it costs results. Avoiding tint installation mistakes is how pros protect their name, clients protect their investment, and installs shine for years.

