Peeling or brittle film
Edges that lift or catch at a seal, and film that breaks into fragments, need assessment before replacement. Avoid pulling the loose section further.
Peeling tint causes
Peeling film, cloudy glass or old tint ready for replacement? Car Tinting Heroes removes applied window film and cleans remaining adhesive, with the approach assessed for your glass, trim and rear-screen features.
Removal guide AED 200–500
Quoted by the job and agreed windows, not a fixed per-pane rate. Typical guide time 1–3 hours, subject to film condition.
Al Quoz 4, Dubai · Removal only or removal with new tint · Rear-screen assessment before work
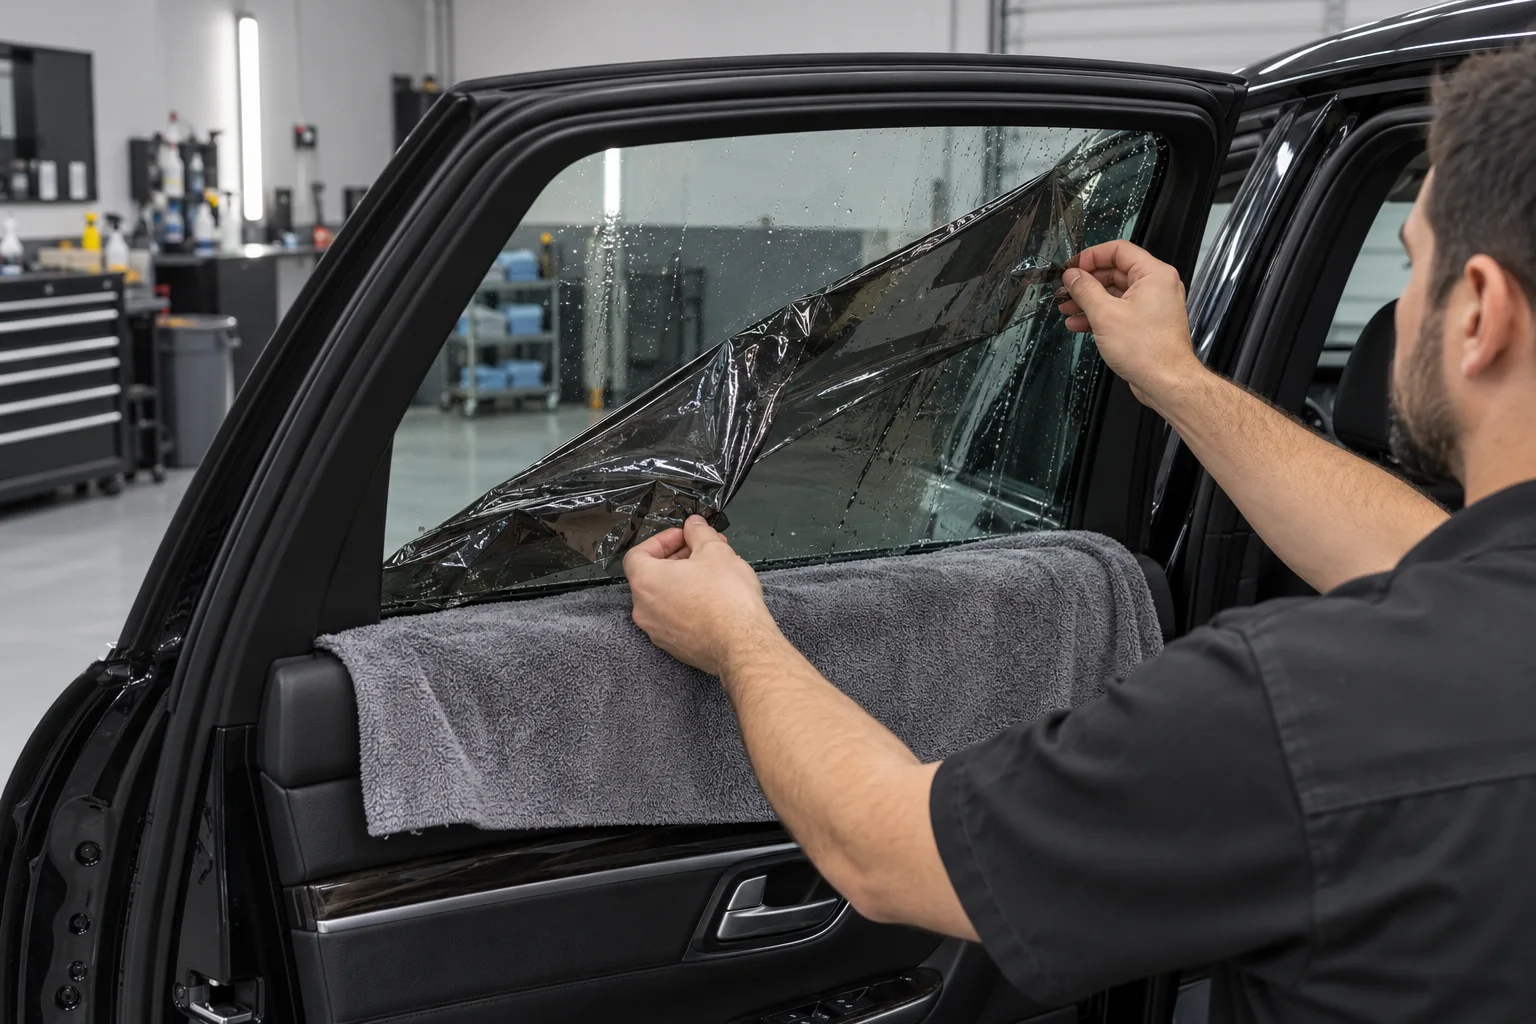
Film can come away cleanly or separate into brittle pieces. The adhesive left behind often determines how much work remains.
AED 200–500
This guide covers removal work assessed for your vehicle. It does not promise every window on every car for the same price. We confirm the panes, film condition and adhesive-cleaning work before you approve the job.
Use this as a planning range, not a guaranteed collection time. The team can refine it after assessing the tint and access.
For replacement package costs, see car window tinting prices. Removal is included only when your quotation says so.
Compare the work, not just the starting figure
Show the affected glass before pulling at an edge. The film’s condition and the residue underneath matter as much as the number of windows.
Photos support an initial estimate. Final labour and collection time depend on the assessed car. Agree any revised work and price before proceeding.
Tell us which windows are affected and when the film was fitted. For an uncertain mark, start with our window tint defect checks. Not every mark on fresh film requires removal.
Edges that lift or catch at a seal, and film that breaks into fragments, need assessment before replacement. Avoid pulling the loose section further.
Peeling tint causesPersistent defects on older tint can point to film or adhesive problems. Fresh installation moisture is a different issue and may improve during drying.
Tint bubble guidanceRemove unwanted applied film before choosing another product, or keep the glass without replacement film. Factory privacy glass will retain its built-in colour.
Options after removalIf the view through the glass is unsafe, avoid driving until it has been assessed. Call to discuss the affected window and a suitable next step.
List the exact panes when requesting your quotation. Different window positions and features need different checks.
Tell us which doors need work and whether the glass opens normally. A window that sticks, drops unevenly or makes a noise should be mentioned before the appointment. The removal plan should not assume normal operation when a mechanism already has a fault.
The quote should identify the glass to be treated, including accessible film near its edges. Existing seal wear, scratches or a window-regulator fault are separate concerns. Removing tint does not correct the mechanism that raises and lowers the glass.
Small fixed panes can be overlooked when comparing a full-car quote. Identify the rear quarter glass, triangular panes and any other glazed section you want included. A price for four door windows does not automatically include these areas.
Photograph the whole side of the car as well as the problem area. This helps the team understand the number of panes and their position before assessing access. Confirm the final list at the vehicle so both parties understand which windows will be treated.
Some coupes and convertibles lower their door glass slightly as the door opens. Tell us if your vehicle has this feature, especially when the appointment includes replacement film. Explain any existing problem with this movement before work begins.
For removal only, agree how the window will be checked at handover. For refitting, ask for vehicle-specific instructions about door use and window movement while the new installation settles. Do not assume advice for a framed saloon door applies unchanged.
Request a separate assessment for film on a windscreen, sunroof or panoramic roof. State the position clearly. These panes are not automatically included in a standard side-and-rear-window enquiry or the published guide price for removal.
Mention sensors, camera housings, attached accessories and any known glass repair. The team needs to establish which surface carries film and whether it is suitable for the proposed work. Interior tint and exterior windscreen protection products should not be treated as the same installation.
Protect the features built into the glass
Removing old tint from a heated rear screen needs more than lifting a sheet. Surface heater tracks, antenna elements, old repairs and stubborn adhesive affect the approach and the checks to agree.
Tell us if demisting is uneven, radio reception has changed or somebody has already pulled at the film. New tint will not repair a broken track or an existing electrical fault.
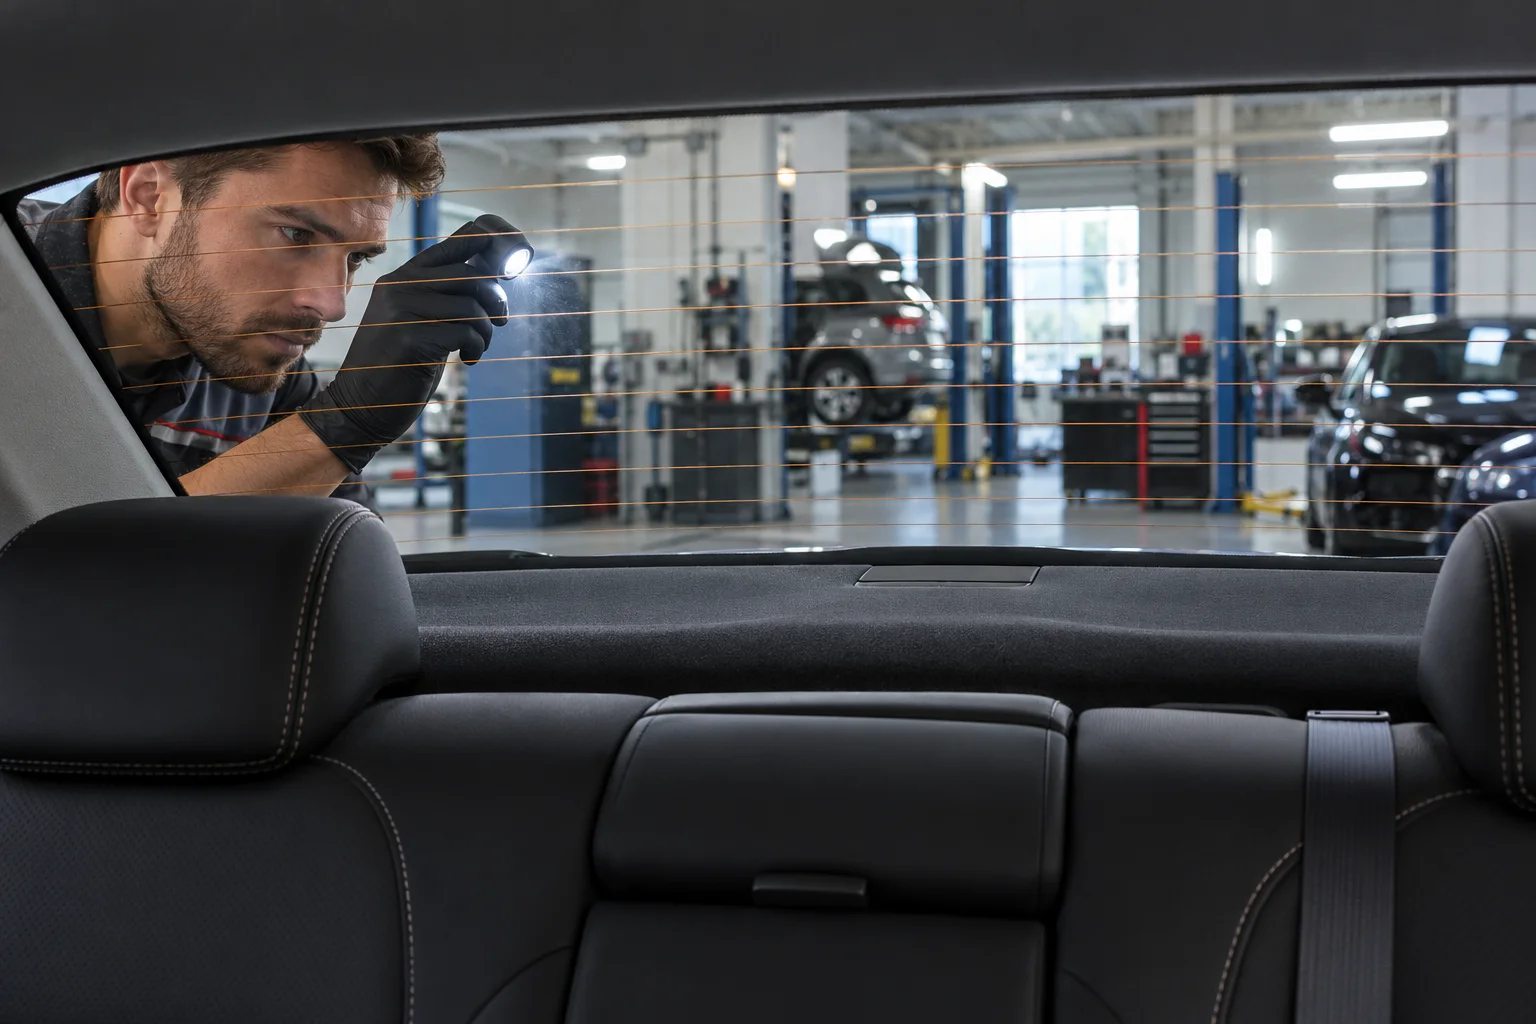
Identify the vehicle and rear pane. Photograph visible track damage, old repairs and disturbed connectors without pulling them. Ask which functional checks can be carried out safely under the vehicle’s instructions before work begins.
A switch light is not proof that every heater line works. Likewise, a visual check does not certify antenna performance. If a feature cannot be tested, record it as untested instead of treating it as a pass.
Protect nearby trim and upholstery, then assess how the old film and adhesive release. Brittle film or multiple layers may need more labour. If a track appears to lift or the condition differs from the agreed assessment, pause and discuss the next step.
Madico’s removal guidance warns that scraping defroster elements damages them and recommends steam to soften rear-window adhesive. That does not make every old installation risk-free or replace vehicle-specific assessment.
Review adhesive cleanup and the condition of accessible tracks. Ask for the agreed functional checks to be repeated where practical, with their result and any limitation recorded. Keep unresolved electrical concerns separate from the new-film decision.
If you later notice a demisting or reception problem, contact the workshop with the fitting date and symptoms. Avoid scraping, probing or attempting a track repair before the concern has been assessed.
Previous DIY removal, damaged tracks, very brittle film or an already faulty demister deserve discussion before quoting a quick strip-and-refit. Agree who handles any repair and how a change in work will be authorised.
Separate old-film removal, adhesive cleaning, new film and fitting. Name the rear pane and any other windows included, then confirm VAT, collection time and new-film warranty. Glass or electrical repair is a separate decision.
Compare new-film package inclusions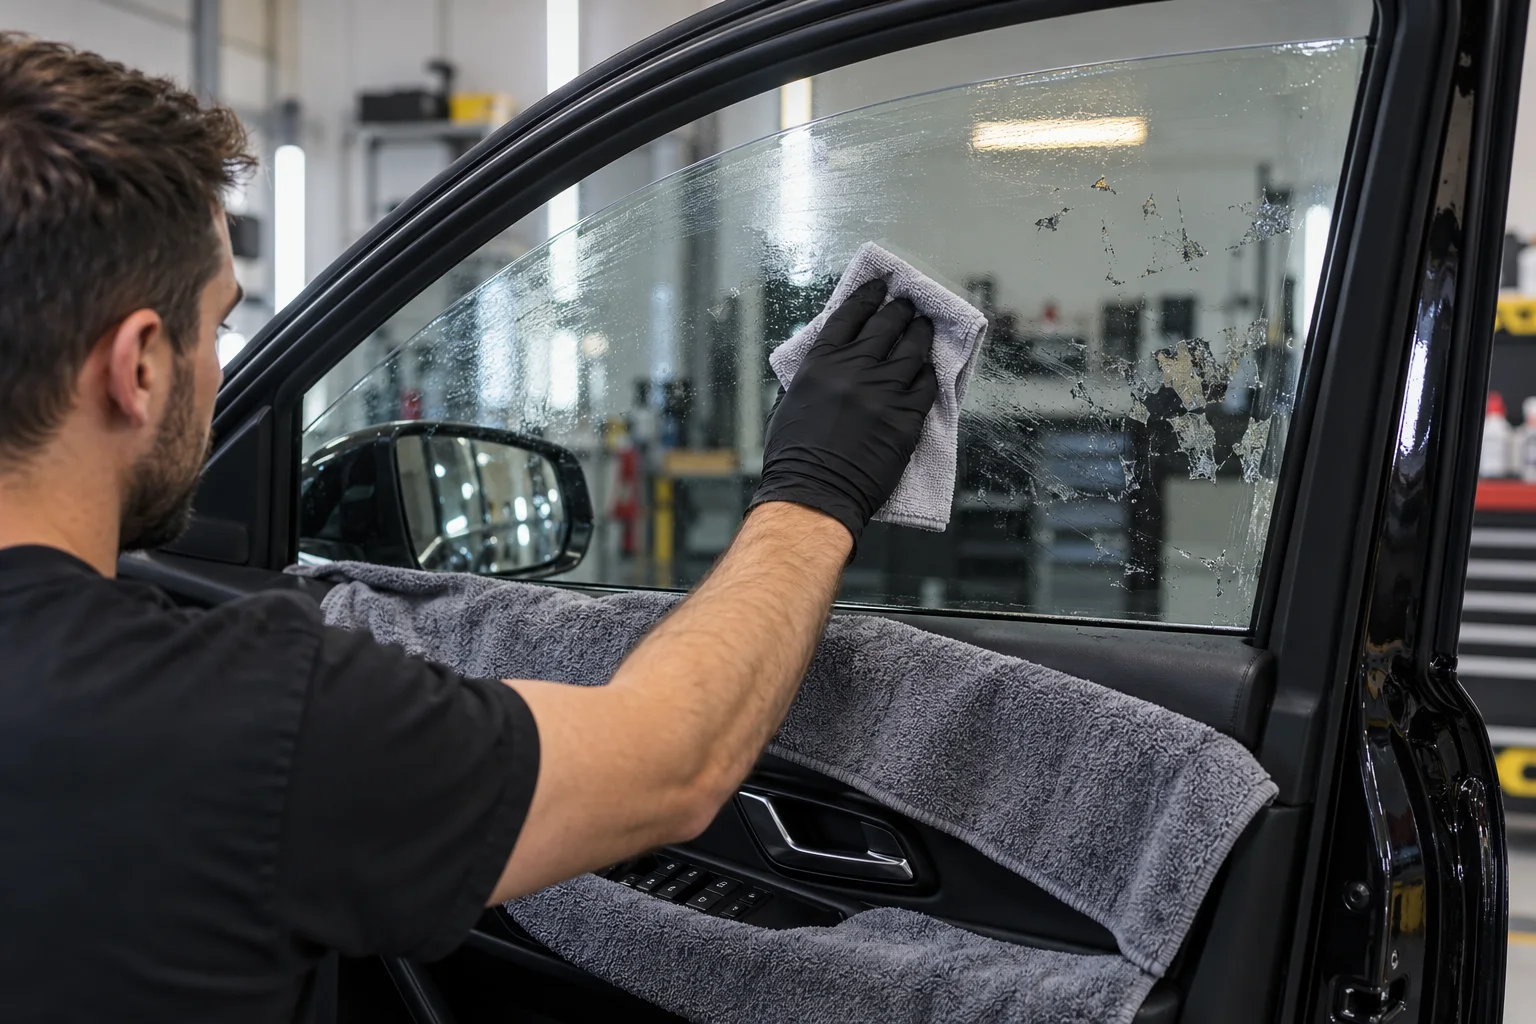
Tell us what was used and which areas remain. Photos of the residue and any damaged edges help the team assess the remaining work.
Check the panes, tint layers, visible damage and surrounding features. Confirm whether you want removal only or preparation for new film.
Protect nearby trim, switches and upholstery. Choose tools and cleaning products appropriate to the surface and vehicle, rather than applying one method to every pane.
Use a suitable controlled removal approach based on the film and glass. Steam or carefully managed heat may help soften adhesive; brittle layers can require more time.
Remove remaining adhesive with suitable products and tools, paying attention to glass edges and access near seals. Lifting the film alone does not finish the job.
Review the treated panes and any limitations with you. If refitting is planned, confirm that the glass is ready before new film is applied.
The right booking depends on the result you want, not simply the size of the car.
If only one window has a problem, identify it clearly when calling. Ask whether removal on that pane is practical and whether you want it left without film or refitted. Do not assume the entire car needs stripping because one edge has lifted.
If matching the remaining tint matters, bring the original film details. A matching appearance cannot be promised from a photograph alone, especially where the existing film has changed colour over time.
When several panes need attention, send an overview and list each one. Agree whether unaffected windows should remain as they are. This makes the quote easier to understand and avoids adding work you did not intend to request.
If you want a consistent new finish, discuss all affected panes together before approving removal. Keep the replacement product decision separate from the cost of stripping and cleaning the existing installation.
If the film has already been pulled away, book an assessment of the residue rather than describing the glass as ready for new tint. Tell the team which products or tools have touched the surface and whether any marks appeared during the attempt.
Leave the remaining area for inspection. A clear account of the work already attempted helps distinguish adhesive cleanup from a glass or trim concern that needs separate attention.
Supply useful details before arrival. You do not need to peel the film or try a cleaning product to prepare the car.
Take one photograph showing the whole affected pane and another showing the peeling edge, cloudy area or remaining adhesive. Include a wider view of the car if the position is unclear. Explain whether the photograph shows the inside or outside surface.
Photos support an initial discussion but cannot replace checking the glass in person. Avoid pressing, lifting or scratching the film to make the problem more visible. If visibility is affected, describe what you notice from the driving position and which window causes concern.
Keep previous fitting invoices, warranty paperwork and product details available. Tell the team if glass has been replaced, the rear demister has stopped working or tint was partly removed elsewhere. These details can change what needs checking before removal starts.
You do not need to guess the cause of a defect. Explaining when it appeared and what work was attempted is more helpful than naming a chemical or film type without evidence. Existing conditions can then be discussed before you approve the job.
Remove personal belongings from beside the windows and the rear parcel shelf where practical. Tell the team about child seats, dash cameras, window-mounted accessories or anything that should not be moved without speaking to you. Keep essential items with you during the appointment.
Confirm the appointment and directions before travelling to Al Quoz 4. Allow for assessment and the agreed collection time rather than arranging another appointment immediately after the shortest guide duration. A message enquiry alone does not confirm a workshop slot.
Removal and new-film fitting are separate decisions. If you are unsure whether the old film needs changing, read when to replace window tint before agreeing the work. Choose removal only or refitting so time and pricing can be planned together.
If the existing tint may still be under warranty, contact its provider before authorising removal. They may need to inspect the film first.
A warranty enquiry, paid removal and a new-film warranty are separate matters. Check the terms that apply to your own installation.
If the original film might be covered, contact its warranty provider before authorising removal. Ask whether it must remain on the car for inspection and which documents are needed. Removing the film first may make it harder to assess the original defect.
Keep photographs, the fitting date and original product details where available. Do not assume every bubble or change of colour is automatically covered. The applicable product terms, installation history and provider's assessment determine the response to a warranty enquiry.
For a paid removal job, ask what is included, which existing conditions have been recorded and how a concern at handover would be handled. Discuss rear-screen risks before work begins rather than relying on a blanket promise that every old installation can be removed without risk.
The quotation should not imply that removal repairs an already broken heater track, scratched pane or faulty window motor. If additional repair is needed, ask who would carry it out and obtain a separate description and price before deciding.
If you choose replacement tint, request the actual brand, product series, shade and warranty terms on the invoice. Check who handles a claim and whether registration or supporting paperwork is required. Keep these details with your vehicle records after collection.
Manufacturer wording can vary by product and market. An overseas website does not automatically establish UAE coverage. LLumar's product FAQs direct customers to applicable restrictions and dealer details. Use the written terms supplied for your own product and installation.
Use the agreed work list at handover. Ask about anything unclear while the team can inspect the vehicle with you.
Review the panes named on the quotation and ask about any remaining marks. Point out sticky patches, visible film fragments or an area you cannot identify. Ask whether a mark is remaining material, an existing scratch or another glass condition.
Look through the glass from the normal seating position as well as at its surface. Assess the result against the agreed service. Removal cannot guarantee that pre-existing chips, scratches or factory glass colour disappear. Raise an unclear result before deciding what further work is appropriate.
Ask about the checks agreed for opening windows, the rear demister or antenna before work. If a problem was recorded on arrival, confirm whether it is unchanged or needs separate assessment. A visual inspection alone cannot establish that every electrical feature functions correctly.
If you notice a concern after collection, contact the workshop promptly with the affected pane, a description and photos where useful. Avoid applying cleaners or attempting a repair before the team has had an opportunity to advise on an appropriate next step.
When no new film has been installed, there is no new tint layer to cure. Ask about cleaning suitable for the glass and any remaining coating or treatment. For a specialist surface, follow the vehicle or product guidance that applies to it.
When replacement tint is fitted, follow its instructions for cleaning, window operation and assessing early moisture effects. The aftercare period belongs to the new installation. Our professional tint installation guide explains the wider fitting and handover checklist.
Share the car details and affected windows for advice specific to your job.
Speak to the tinting teamOur guide range is AED 200–500 for a removal job, with the actual windows and work confirmed after assessment. It is not a per-window rate or a guaranteed full-car price. Request a written total that identifies film removal, adhesive cleaning, any exceptional preparation and VAT. New film is quoted separately unless expressly included.
Allow around 1–3 hours as an initial guide. Brittle film, several layers, stubborn adhesive and difficult rear-screen access can extend the appointment. We confirm an estimate after assessment; a removal-and-refitting booking needs additional time.
We assess rear-screen film with particular attention to heater tracks, antenna elements and their existing condition. The approach must suit the glass and film. A zero-risk guarantee is not appropriate for every old installation; ask for the identified risks and any proposed checks before approving work.
Adhesive cleaning is part of the removal work to agree in your quotation. Tell us if film has already been pulled off and only glue remains. The amount and condition of residue affect the labour; confirm any exceptional preparation charge before work proceeds.
Often the work can be planned together if the glass is suitable after removal and the chosen film and booking time are available. Agree both prices first. Replacement film has its own installation time, curing instructions and warranty terms.
No. Applied film is a separate layer that can be removed. Colour built into factory privacy glass is part of the glass itself. Inspection helps distinguish the two and prevents booking removal for a result it cannot deliver.
If the existing film may still be under warranty, keep your invoice and contact the warranty provider before authorising removal. They may need to inspect it first. Our featured new-film package warranties should not be assumed to cover an unrelated removal job.
No. Recently installed film can show temporary moisture effects while drying. Older bubbles, persistent haze or lifting edges need assessment. Share the fitting date and photos so the team can advise whether inspection, a warranty enquiry or removal is the appropriate next step.
Understand the principles behind the removal assessment.
Madico's removal guidance explains why adhesive cleanup and rear-screen care require attention. 3M's automotive FAQs also describe removal as softening the film, lifting it and cleaning remaining adhesive, with professional handling recommended to reduce the risk of damage.
Send clear photos of the affected windows with your make, model and year. Tell us whether you want clear glass or new tint, and mention any existing rear-screen or window-operation fault.
Call before travelling to confirm a slot and workshop directions. Your enquiry does not confirm an appointment.